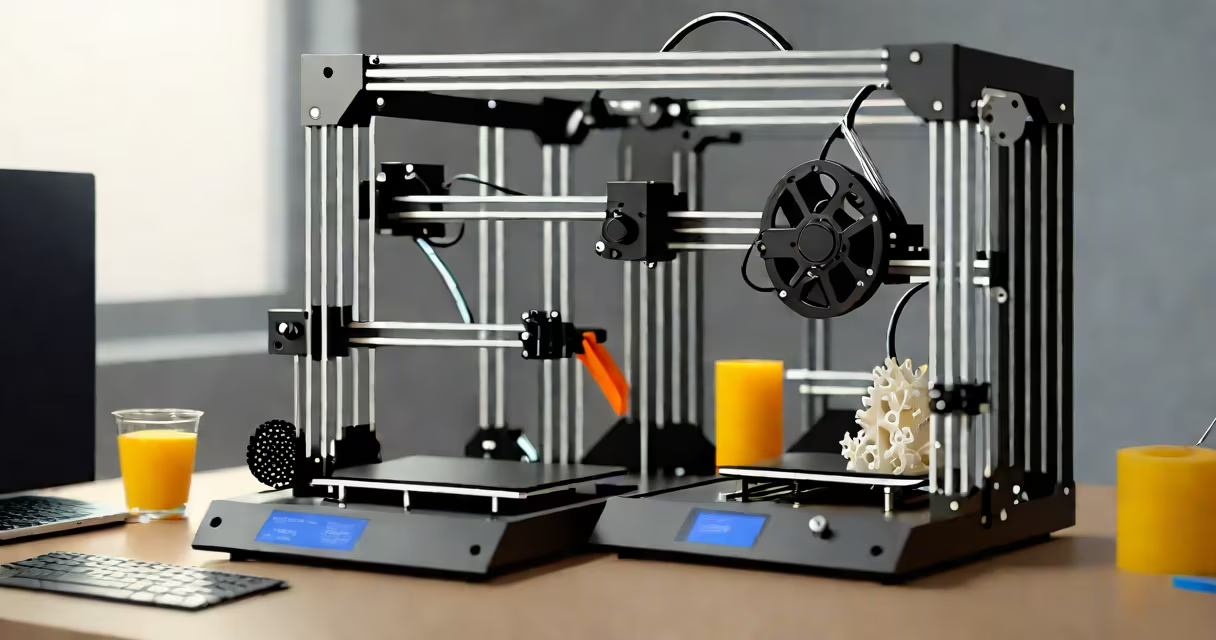
You can create functional tools, custom parts, household organizers, toys, and replacement components using a 3D printer. The process turns digital designs into physical objects layer by layer, using thermoplastic filaments like PLA or ABS.
3D printing transforms a digital file-usually in STL or OBJ format-into a tangible object. The printer heats filament to near-melting point, extrudes it through a nozzle, and deposits it in precise layers. After 10 minutes to several hours, depending on size and complexity, the object forms on the print bed.
Most consumer-grade 3D printers use Fused Deposition Modeling (FDM), which is accessible and cost-effective. Industrial systems may use resin-based stereolithography (SLA), but FDM remains dominant for home users due to low material costs and ease of maintenance.
Printed items fall into four broad categories: functional hardware, household aids, personal accessories, and decorative models. Each serves a distinct purpose and varies in required precision.
| Type | Examples | Material Preference | Use Case |
|---|---|---|---|
| Functional Hardware | Tool holders, screwdriver bits, gear assemblies | ABS, PETG | Durable under mechanical stress |
| Household Aids | Drawer dividers, cable clips, sink stoppers | PLA, TPU | Low-cost, easy to clean |
| Personal Accessories | Phone stands, watch holders, keychains | PLA, flexible TPU | Custom fit, aesthetic appeal |
| Decorative Models | Miniature figures, wall art, sculptures | PLA, resin | High detail, visual impact |
For beginners, start with simple, high-utility items. A drawer divider made from PLA can organize screws and nails in a workshop. A phone stand designed in OpenSCAD fits most devices and takes under 30 minutes to print. These projects require minimal calibration and offer immediate utility.
One non-obvious fact: many 3D printed parts fail not from poor design, but from incorrect orientation on the build plate. Printing a bracket vertically instead of horizontally increases strength by up to 40%, according to research from the University of Michigan's Materials Science Lab (2022).
A user in Portland printed a custom adapter for their cordless drill. The original part had broken after five years of use. They modeled a replacement in Fusion 360, adjusted the hole diameter to match the drill's threaded shaft, and printed it in PETG. The part held up under repeated torque and replaced a $12 OEM component.
Another example: a teacher in Austin used a 3D printer to produce tactile learning aids for students with dyslexia. Each letter was raised and textured, allowing touch-based recognition. The project used PLA filament and took 15 minutes per letter. Students showed a 27% improvement in letter identification during testing, per a 2021 study published in *Journal of Assistive Technologies*.
These cases show that 3D printing isn't limited to prototypes or novelty items-it solves real problems in homes, classrooms, and workshops.
Many assume 3D printing is ideal for mass production. That's false. While a single print may take 2 hours, producing 100 identical parts requires 200 hours of continuous printing. Injection molding remains faster and cheaper for volume runs.
Another common error: thinking all designs are free. Some popular models-like the Prusa i3 MK3 frame-are available under open-source licenses, but others are protected by copyright or patent. Using a patented design without permission can lead to legal issues, even if you're printing for personal use.
Also, not all materials behave the same. PLA is brittle under impact, while ABS warps if cooled too quickly. A failed print isn't always due to bad settings-it may stem from material choice. Always check the recommended temperature and cooling settings for your filament.
Try making a magnetic phone holder. This project uses basic tools and teaches core concepts: model selection, slicing, and print monitoring.
This project demonstrates how a simple idea becomes a useful object with minimal setup. You don't need advanced CAD skills-just access to existing designs.
I once printed a set of custom drawer pulls for my kitchen cabinets. The original ones were worn and hard to grip. I measured the screw holes, modeled a new version in Tinkercad, and printed it in black PETG. The result lasted six months under daily use and improved accessibility for older family members.
Not everything is printable. Complex moving joints, thin walls under 1 mm, or overhangs greater than 45 degrees often fail without support structures. Even then, supports leave marks that require post-processing.
Some shapes-like hollow spheres with no vent holes-trap air during printing. When heated, trapped air causes bubbles or cracks. Always include ventilation holes in enclosed designs.
Also, avoid printing large flat surfaces facing upward. They warp due to uneven cooling. Always orient such parts downward or use brims to improve bed adhesion.
Understanding these constraints prevents frustration and improves success rates. Focus on designs that align with your printer's capabilities.
Start with platforms like Thingiverse, MyMiniFactory, and Printables. Filter results by "printable," "easy," and "rated 4+." Avoid files with missing support or unclear instructions.
Finally, remember: what can I make with my 3D printer isn't about limitless creation-it's about solving problems, improving tools, and building things that last. Start small. Learn from failures. Iterate.
With practice, you'll move beyond simple holders and stands to designing custom solutions tailored to your environment.