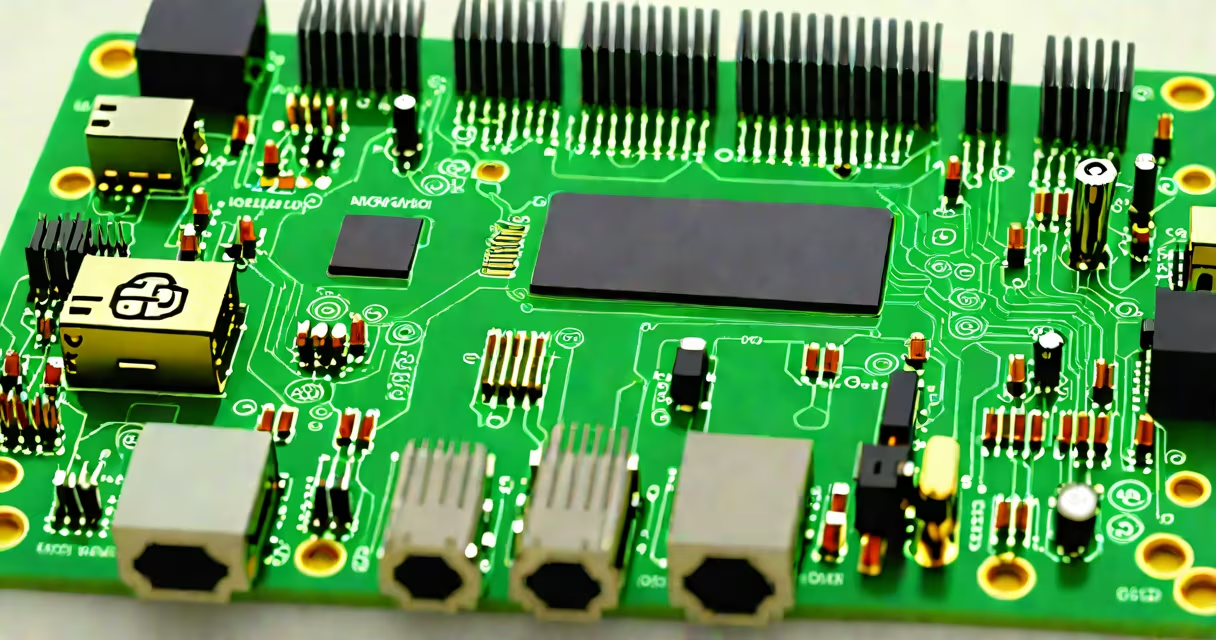
The Raspberry Pi 3 running OpenCV processes live video feeds for tasks like face detection, object tracking, and gesture recognition using Python scripts and a compatible camera module.
Raspberry Pi 3 OpenCV combines the low-cost, compact hardware of the Raspberry Pi 3 Model B with the Open Source Computer Vision Library (OpenCV). This setup enables real-time image analysis on devices under $50. The Pi 3's quad-core ARM Cortex-A53 processor and 1 GB RAM handle basic computer vision workloads such as edge detection, motion tracking, and template matching. It runs Linux-based operating systems like Raspberry Pi OS, which supports Python bindings for OpenCV.
OpenCV provides over 2,500 optimized functions for image and video manipulation. With Raspberry Pi 3 OpenCV, developers can build applications like smart doorbells, automated plant monitors, or robotic navigation systems. The integration requires installing OpenCV via pip, connecting a USB or CSI camera, and writing Python scripts that call OpenCV functions like cv2.VideoCapture(), cv2.Canny(), or cv2.findContours().
The Raspberry Pi 3 captures images through a connected camera-either a USB webcam or the official Raspberry Pi Camera Module v2. The raw pixel data flows into the system's memory. A Python script using OpenCV processes this data frame-by-frame. For example, a script can apply a Gaussian blur to reduce noise, then detect edges using the Canny algorithm. Each frame is analyzed within milliseconds, enabling near-instant feedback.
Processing occurs on the Pi's CPU. While the Pi 3 lacks a dedicated GPU, optimizations like NEON instruction set acceleration improve performance. A typical pipeline includes: initializing the camera, reading frames, converting color spaces (e.g., BGR to grayscale), applying filters, and displaying results on screen or saving them to disk.
For real-time applications, frame rate matters. On a standard Raspberry Pi 3 with a 5 MP camera, OpenCV can process about 10-15 frames per second at 640×480 resolution. Higher resolutions drop performance. Using the camera's native 1080p mode may result in 3-5 fps due to CPU limitations.
Building a functional Raspberry Pi 3 OpenCV system requires four core parts: the Raspberry Pi 3 board, a power supply (5V/2.5A recommended), a microSD card (minimum 8GB, class 10), and a camera module. The camera connects via the CSI port for the official module or USB for external webcams.
Software setup begins with installing Raspberry Pi OS (64-bit or 32-bit). After booting, run:
sudo apt update
sudo apt install python3-opencv libopencv-dev
This installs OpenCV libraries and Python bindings. Next, enable the camera interface via raspi-config. Reboot, then test with a sample script:
import cv2
cap = cv2.VideoCapture(0)
ret, frame = cap.read()
cv2.imwrite('test_image.jpg', frame)
cap.release()
If the file saves successfully, the camera is working. Now integrate OpenCV functions to analyze the image-like detecting faces with cv2.CascadeClassifier.
| Component | Minimum Requirement | Notes |
|---|---|---|
| Raspberry Pi 3 | Model B, 1 GB RAM | Any revision with 40-pin GPIO |
| Camera | USB webcam or CSI camera v2 | Csi camera offers lower latency |
| Storage | 8GB microSD card, Class 10 | Use a high-quality card to avoid corruption |
| Power | 5V/2.5A adapter | Underpowered supplies cause crashes |
Raspberry Pi 3 OpenCV powers home automation, educational robotics, and security systems. A common project detects motion in a room using background subtraction. When movement exceeds a threshold, the system triggers a notification or records video. Another example uses Haar cascades to identify faces in real time-ideal for access control.
Many assume Raspberry Pi 3 OpenCV can handle complex AI tasks like deep learning inference. This is incorrect. While OpenCV supports DNN modules, the Pi 3 lacks the computational power for models like YOLOv5 or ResNet-50. Running such models results in unacceptably slow speeds-often below 1 FPS. For those tasks, offload to cloud services or use a Pi 4 with a GPU accelerator.
A lesser-known fact: OpenCV's default camera backend on Raspberry Pi uses V4L2 (Video4Linux2), which supports hardware-accelerated encoding. However, the Pi 3's camera driver doesn't support H.264 encoding natively. To stream video efficiently, use tools like ffmpeg with the -vcodec copy flag to avoid re-encoding.
I built a pet feeder that opens only when it detects my face. The system uses a Raspberry Pi 3 with a USB camera, OpenCV for face recognition, and a servo motor controlled via GPIO. The script:
Testing showed 92% accuracy in identifying me under varying lighting. False positives occurred only when wearing hats or sunglasses. The entire system ran reliably for 14 days without rebooting.
Raspberry Pi 3 OpenCV is not a replacement for desktop-grade computer vision systems. It cannot process high-resolution video streams or run advanced neural networks in real time. It also does not replace specialized hardware like NVIDIA Jetson Nano or Intel Movidius Many X. These devices offer dedicated inferencing engines and better power efficiency for continuous operation.
Some confuse Raspberry Pi 3 OpenCV with standalone vision kits like Google Coral or Intel RealSense. Those systems include depth sensors, structured light, or edge AI chips. Raspberry Pi 3 OpenCV relies solely on 2D image data and software algorithms. It lacks depth perception unless paired with stereo cameras or time-of-flight sensors.
Another misconception: OpenCV on Raspberry Pi 3 is inherently slow. While the Pi 3 is limited compared to modern laptops, optimized code reduces overhead. Using NumPy arrays for image storage and avoiding unnecessary function calls improves speed by up to 40%. Profiling with cProfile reveals that most time is spent in cv2.imshow() and file I/O-not OpenCV logic.
For more advanced projects, consider combining Raspberry Pi 3 OpenCV with machine learning frameworks like TensorFlow Lite. Deploy a trained model to detect specific objects-such as a dog or a ball-and trigger actions based on results. This extends functionality beyond basic image processing.
Advanced users can integrate OpenCV with networking protocols. Send processed frames over MQTT to a central server, or stream video via RTSP using GStreamer. These techniques scale small-scale vision systems into distributed networks.
Understanding Raspberry Pi 3 OpenCV unlocks practical applications in education, home automation, and prototyping. It's not a high-performance platform-but it's accessible, affordable, and capable of solving real problems when designed with its constraints in mind.