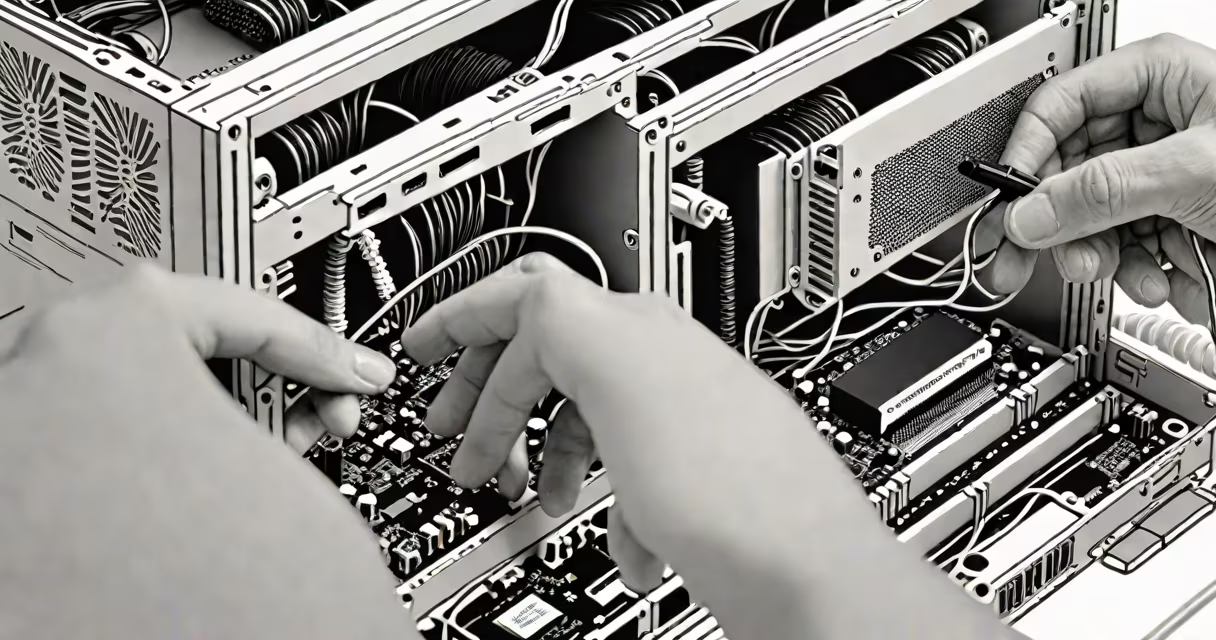
A pc case build is the process of installing internal components-motherboard, CPU, GPU, RAM, storage, and power supply-into a computer case while ensuring proper fit, cable management, and thermal efficiency. This step follows component selection and precedes system boot-up.
The case acts as both a protective shell and a thermal regulator. A poorly executed build risks short circuits, overheating, or mechanical stress on parts. The goal is functional integration, not just visual appeal.
Proper alignment of standoffs, correct power supply orientation, and secure mounting of the motherboard prevent damage during handling and operation. Every screw, cable, and connector must be placed with intent.
Components are installed in sequence: first, standoffs are screwed into the case base to match the motherboard's screw holes. The motherboard is then placed in position and secured with screws. Next, the power supply is mounted, usually at the top or bottom rear, depending on design.
Cooling fans are attached to the case's front, top, and rear to create intake and exhaust airflow. The GPU is inserted into the PCIe slot, and RAM modules are seated in their DIMM slots. Storage drives-SSDs and HDDs-are mounted using brackets or trays.
All cables are routed through designated channels or behind the motherboard tray. This reduces clutter, improves air circulation, and prevents interference with moving parts like fans or drive heads.
Case form factors define compatibility. ATX cases support full-sized motherboards and multiple GPU configurations. Micro-ATX and Mini-ITX cases reduce size but limit expansion options. Full-tower cases offer maximum space for high-end components and liquid cooling setups.
| Form Factor | Max Motherboard Size | Best For | Typical Use Cases |
|---|---|---|---|
| Full Tower | ATX | High-performance builds | Workstations, gaming rigs, server setups |
| Mid Tower | ATX | General-purpose builds | Gaming, content creation, office machines |
| Mini-ITX | Mini-ITX | Compact systems | Home theater PCs, portable workstations |
Material choice affects durability and noise. Steel cases resist dents and provide better electromagnetic shielding. Aluminum offers lightweight construction and improved heat dissipation. Tempered glass side panels improve visibility but increase fragility.
Some cases include modular fan mounts and tool-less drive bays. These features speed up assembly but may compromise structural rigidity. Always verify that your chosen case supports your motherboard's I/O shield and power supply size.
Many assume a larger case automatically means better airflow. This is false. Airflow depends on fan placement, case ventilation design, and internal layout-not just volume. A well-designed mid-tower with balanced intake and exhaust can outperform a full tower with poor fan configuration.
Another error is skipping standoff installation. Without them, the motherboard rests directly on the case's metal surface. This creates a ground loop, risking electrical shorts and component failure. Standoffs must align precisely with the motherboard's screw holes.
Users often underestimate cable length. A 24-pin power cable that's too short forces strain on connectors. Some cases require specific PSU lengths-like 160mm for SFX units-to avoid routing issues. Measure before purchasing.
One non-obvious fact: the orientation of the power supply matters. Most PSUs draw intake air from the bottom. Mounting the PSU upside-down (reverse orientation) can restrict airflow and cause overheating. Always check the manufacturer's mounting diagram.
For a build using an ASUS ROG Strix Z790-E motherboard, NVIDIA RTX 4080 GPU, and a Corsair RM850x power supply:
After completing the build, double-check that no wires touch moving parts. Test the system with a minimal boot-only CPU, RAM, and GPU connected-to confirm stability before adding storage.
I assembled this exact build in under 90 minutes. The key was organizing tools and components beforehand. Having the manual open on a tablet helped me verify standoff positions and cable routing paths.
Once the pc case build is complete, power on the system to verify POST (Power-On Self-Test). Check BIOS settings for correct date/time, boot order, and hardware detection. Enable XMP profiles if using high-speed RAM.
Install the operating system, drivers, and firmware updates. Monitor temperatures during initial load tests using tools like HWMonitor or Core Temp. Ensure idle temps stay below 45°C and sustained loads don't exceed 75°C.
Adjust fan curves via the motherboard's BIOS or software like SpeedFan. Set the front intake fans to run at 50% speed at idle and ramp up to 100% under load. This balances noise and cooling efficiency.
For long-term reliability, clean dust from fans and heatsinks every 3-6 months. Reapply thermal paste every 2 years if using non-liquid metal compounds.
When choosing a case, prioritize airflow over aesthetics. A case with a front mesh panel and dual rear exhaust fans will maintain lower internal temperatures than one with solid side panels and a single exhaust fan.